API Guide

01. Overview

Integrate Cutly into your ecommerce workflow in minutes.

Upload your product photos and let Cutly remove backgrounds automatically via API. No manual editing — just clean, transparent images ready for your store.

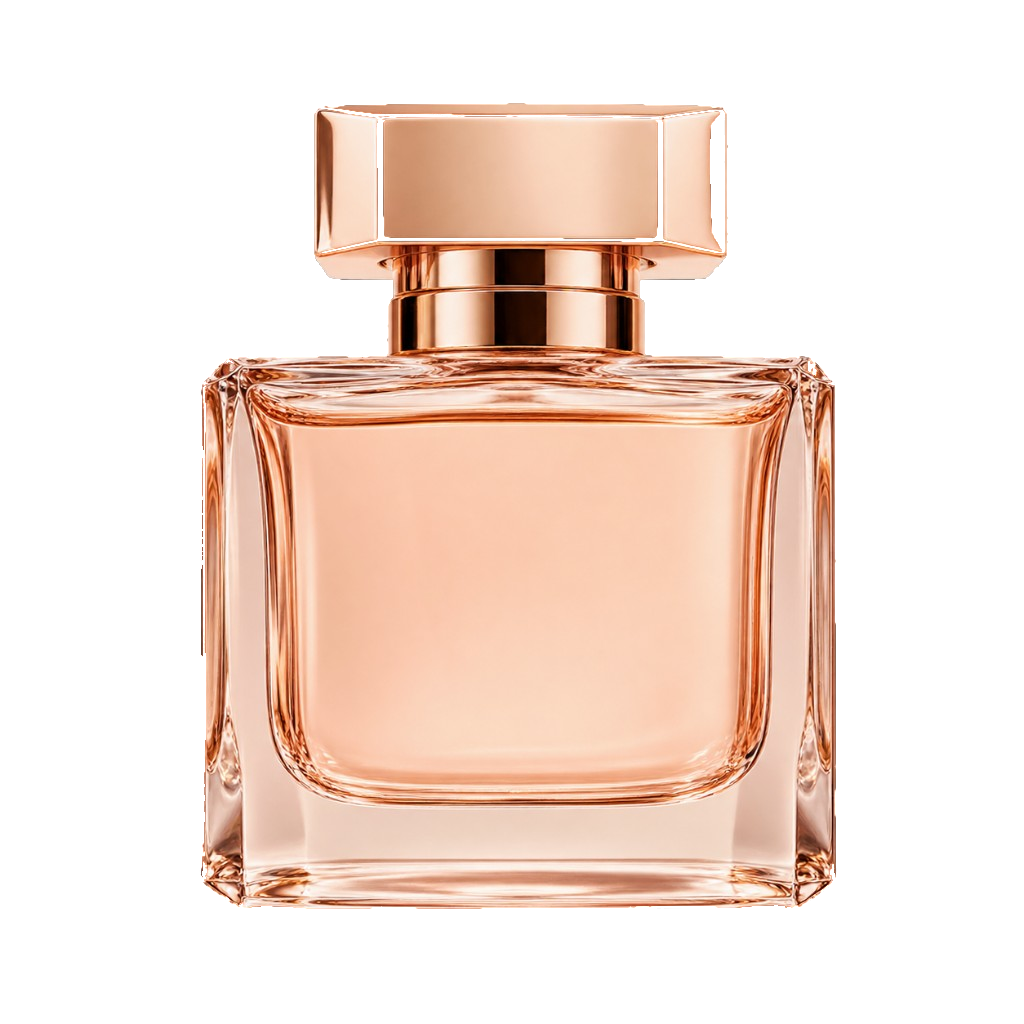
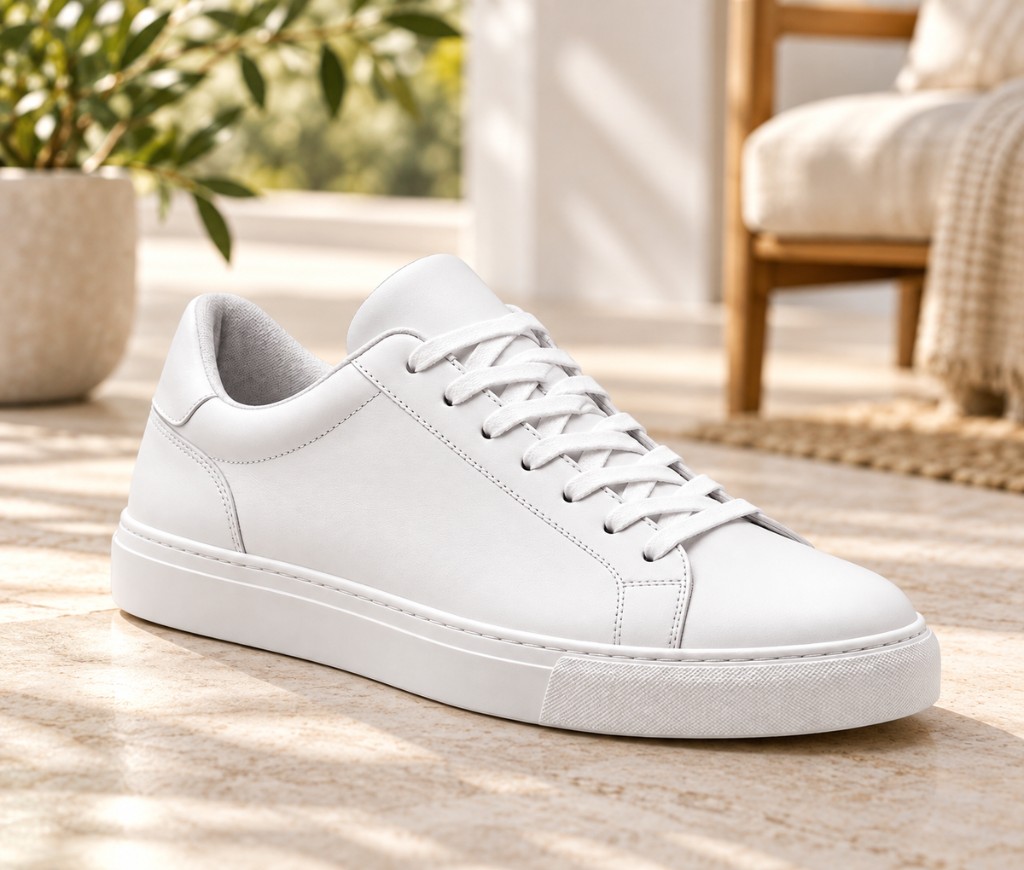
Original photo
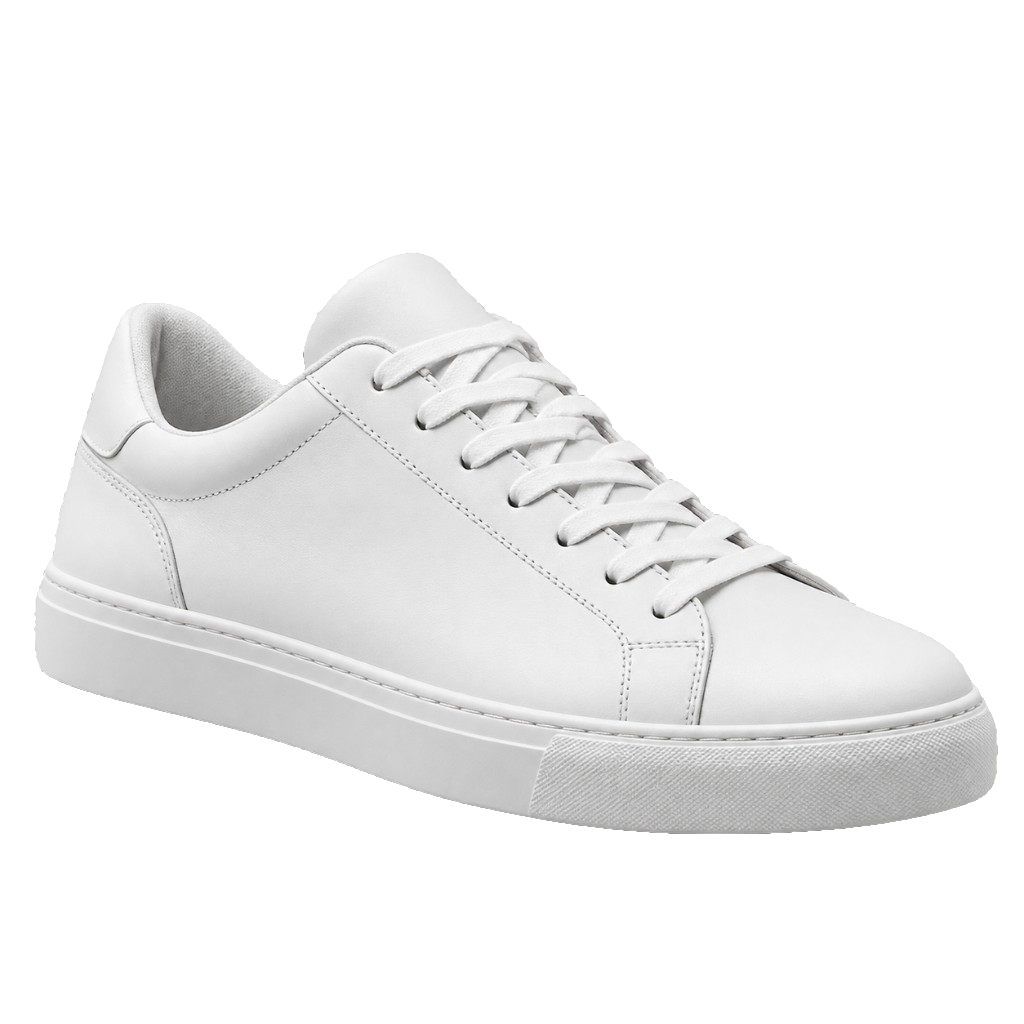
Transparent background
  • Simple integration

    REST API with clear endpoints and examples.

  • High-quality cutouts

    Accurate, clean results for professional product images.

  • Fast processing

    ~5 seconds per image.

  • Works with any platform

    Use with your existing stack, CMS, or custom system.

How it works

From your product photo to a transparent image — in 5 simple steps.

Integrate once, automate everything.

  1. Upload product image

    Send a product photo from your system.

  2. Your backendPOST/api/v1/background-removalBearer b9_…

    Your server sends the image to Cutly API.

  3. Cutly APIProcessing…

    Cutly removes the background automatically.

  4. Clean PNG result

    Receive a high-quality transparent PNG in seconds.

  5. Product galleryStore gallery

    Use it directly in your ecommerce store.

02. Why use Cutly?

Why ecommerce teams choose Cutly.

Remove backgrounds directly inside your workflow — without a separate AI subscription, manual exports, or bouncing files between tools. Cutly fits where your product images already live.

Original photo
Transparent background

Traditional workflow compared with Cutly API

Traditional workflow

Many steps, tools and manual work.

  1. Photoshoot
  2. Upload to AI tool
  3. Remove background
  4. Download file
  5. Open ecommerce admin
  6. Find your product
  7. Upload again
  8. Publish to store

With Cutly API

Faster, simpler, fully in your workflow.

  1. Upload product image
  2. Your backend sends to CutlyPOST /api/v1/…
  3. Cutly removes the backgroundCutly API
  4. Clean PNG is returned
  5. Save to product gallery
  6. Publish to storePublish Product
Key benefits

Built for modern ecommerce teams.

Less manual work. Better images. A smoother workflow.

  • No extra AI subscription

    Use Cutly through your own system.

  • No manual editing

    Get clean, transparent images automatically.

  • One person can handle the workflow

    Automate image processing.

  • Consistent product images

    Same clean, high-quality results across your catalog.

  • Lower operational cost

    Reduce tool costs and manual work.

  • Secure and reliable

    Built for production use.

Your data stays in your control

  • API keys stay on your server
  • Original images remain safe
  • Cutly only processes the images you send
03. Create API Key

Create your API key in minutes.

To start processing product images with Cutly, you'll need a Cutly account and an API key. Your API key gives you secure access to our image background removal API and should be kept private.

Get your API key in 4 simple steps.

  1. Create accountSign up for a Cutly account at cutly.com.
  2. Verify emailCheck your inbox and verify your email address to activate your account.
  3. Open dashboard > API KeysGo to your dashboard and navigate to the “API Keys” section.
  4. Generate and copy API keyClick “Create API Key”, give it a name, then copy and save your key securely.

API Keys

Manage your API keys for accessing the Cutly API. Create different keys for different environments and keep them secure.

Create API Key
NameEnvironmentAPI KeyCreatedActions
ProductionLive storeProductionb9_live_••••••••••••87a2Jan 15, 2024 10:24 AM
DevelopmentTesting & devDevelopmentb9_dev_••••••••••••3c9dJan 10, 2024 02:41 PM
TestSandbox testingTestb9_test_••••••••••••7b6eJan 8, 2024 09:12 AM
Keep your API key secret.Your API key gives full access to your Cutly account. Store it on your backend only and never expose it in client-side JavaScript, mobile apps, or public repositories.
Before you continue

Make sure you're ready.

Complete the following items before moving on to the next section to ensure a smooth integration experience.

  • Cutly account readyYou have created and verified your account.
  • API key generatedYou have created and copied your API key.
  • Backend access availableYou can store your API key on your server.
  • Storage location readyYou have a secure place to store your API key (e.g. environment variables).
04. Quick Start

Remove a background in 3 simple steps.

This is the fastest way to test the Cutly API. In just a few minutes, you'll send a product image, make an API request, and receive a clean transparent PNG — ready to use in your store.

Original photo
Transparent background
  1. Send an imageUpload a product image or provide an image URL.Choose an imageJPG, PNG, or WEBP (max 10MB)
  2. Make API requestSend the image to Cutly with your API key. You can use cURL, any HTTP client, or our SDKs.
    curl -X POST https://api.cutly.io/api/v1/background-removal \  -H "Authorization: Bearer b9_your_key" \  -F "image=@product.jpg" \  -F "output_format=png"
  3. Get transparent PNG resultReceive a clean product image with the background removed in seconds.Background removed successfully!

What you need

Get these ready before you start. It only takes a minute.

  • 1. API keyGet your API key from the dashboard. Create API key
  • 2. Product imageUse a clear product photo (JPG, PNG, or WEBP).
  • 3. Backend or test toolUse cURL, Postman, any HTTP client, or your own backend.
  • 4. Storage for resultSave the returned PNG to your server or cloud storage.

Expected result

You'll receive a clean, high-quality transparent PNG.

  • Transparent background (PNG)
  • Clean edges and high quality
  • Ready to use in your product gallery
  • Works with any product photo
05. Make a Request

Send a request to remove background.

Use the Cutly API to upload a product image or provide a public image URL, and get a clean, transparent background image in seconds. Just send a POST request with your API key and the image parameters. It's fast, reliable, and production-ready.

Endpoint
/api/v1/background-removal
Method
POST
Content type
multipart/form-data
Authentication
Bearer b9_your_key

You can send either an uploaded file (image) or a public product image URL (image_url). Use one of them, not both: file uploads go to POST /api/v1/background-removal, while URL imports go to POST /api/v1/background-removal/import-url.

Request Example

curl -X POST https://api.cutly.io/api/v1/background-removal \  -H "Authorization: Bearer b9_your_key" \  -F "image=@product.jpg" \  -F "output_format=png" \  -F "background=transparent"

Request Parameters

ParameterTypeRequiredDescription
imageFileYes*Product image. PNG, JPG, or WebP, max 25 MB.
output_formatStringOptionalpng, webp, or avif. Default png.
backgroundStringOptionaltransparent, white, black, color, image, blurred. Default transparent.
background_colorStringOptionalHex #RRGGBB. Required when background is color.
foreground_modeStringOptionalmain_product or all_products. Default main_product.
preserve_shadowStringOptionaltrue or false. Default false — product only.
qualityStringOptionalstandard, high, maximum. Default high.

Prefer a public link over an upload? Send a JSON body with a direct image URL to POST /api/v1/background-removal/import-url instead.

06. Handle Response

Understand the response and use the image.

Cutly returns a structured JSON job object. After you upload, poll GET /api/v1/background-removal/{id} until status moves from queued through processing and refining to completed. Then use result_url in your workflow — save the cutout, show a preview, or update product images in your store.

Response examples

{  "id": "9f3a2b1c4d5e6f708192a3b4c5d6e7f",  "status": "completed",  "original_url": "https://api.cutly.io/api/v1/background-removal/9f3a2b1c…/original?expires=…&token=…",  "result_url": "https://api.cutly.io/api/v1/background-removal/9f3a2b1c…/result?expires=…&token=…",  "width": 1200,  "height": 1200,  "format": "png"}

Result image

Download
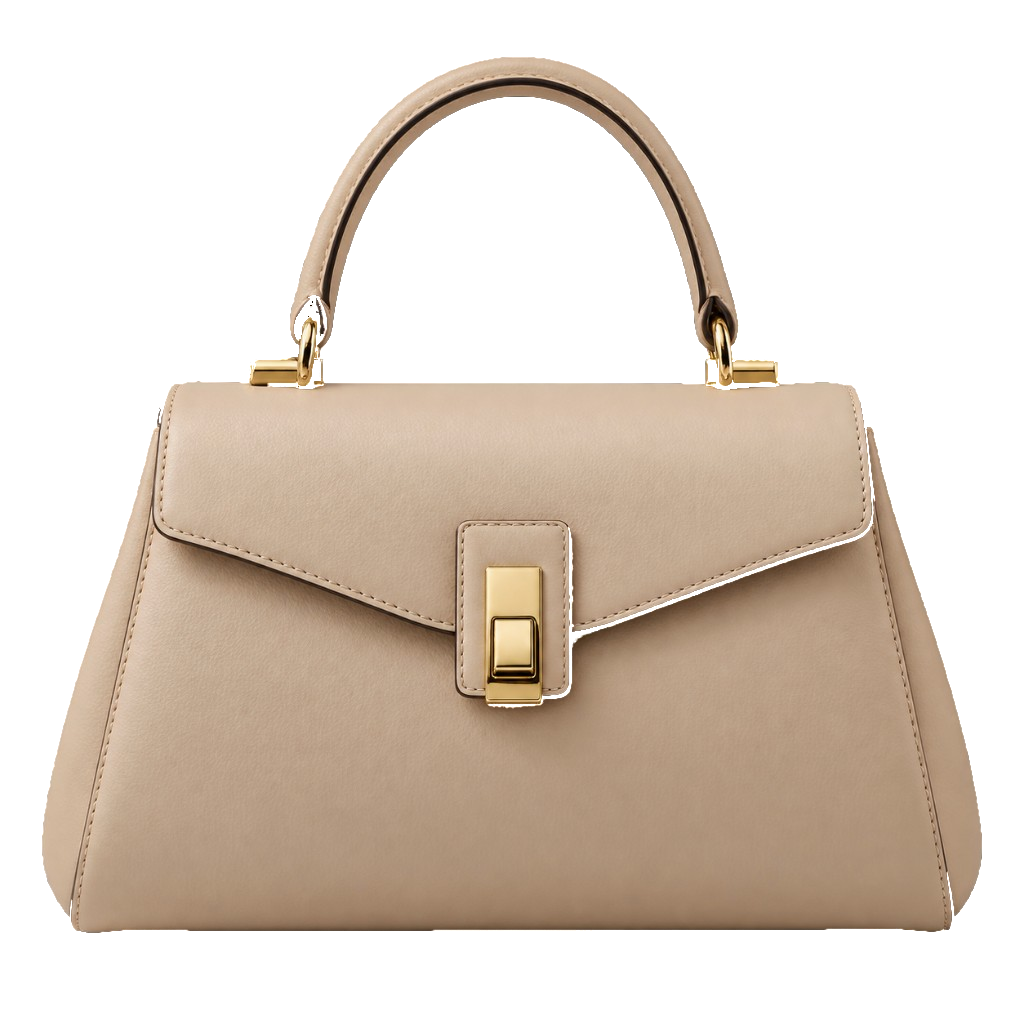
Handbag with transparent background
Format
PNG
Dimensions
1200 × 1200 px
File size
482 KB

Response field reference

FieldTypeDescription
idStringJob id from the upload response. Use it to poll job status.
statusStringqueued, processing, refining, completed, or failed.
original_urlStringSigned URL to the uploaded source image. Present when status is completed.
result_urlStringSigned URL to the processed image (transparent PNG or WebP). Present when completed.
widthIntegerOutput width in pixels. Present when completed.
heightIntegerOutput height in pixels. Present when completed.
formatStringpng, webp, or avif. Present when completed.
errorObjectcode and message when status is failed (job-level failure, not HTTP envelope).

Remaining account credits are not included in the job response. Check GET /api/v1/billing with your login token for plan balance.

If the request fails

Do not replace the merchant's original image when success is false or when polling returns status: "failed". Show a retry option and keep the source asset unchanged.

HTTP error

{
  "success": false,
  "error": {
    "code": "INVALID_IMAGE",
    "message": "Only PNG, JPG, or WebP are supported."
  }
}

Failed job (after polling)

{
  "id": "9f3a2b1c…",
  "status": "failed",
  "error": {
    "code": "INTERNAL_ERROR",
    "message": "Background removal failed."
  }
}

Never replace the merchant's source image until processing succeeds and you have downloaded or stored the new cutout from result_url.

07. Integrate in Webapp

Add Cutly directly to your product form.

Let your users upload product photos as usual while your backend automatically sends them to Cutly and receives clean, transparent PNG images. No manual editing, no extra tools, no download-and-upload steps.

  • No extra AI subscription

    Use Cutly through your own API key. No separate AI accounts for each staff member.

  • No manual background editing

    Product images are cleaned automatically in seconds.

  • No download and upload again

    Everything happens behind the scenes in your existing product workflow.

Create Product

Integration steps

  1. User uploads product images

    Your users upload product photos in your product form as usual.

  2. Your backend sends images to Cutly API

    When the form is submitted, your server sends the images to Cutly API. Keep your b9_ API key on the server — never expose it in the browser.

    POST/api/v1/background-removalBearer b9_…
  3. Cutly removes background

    Cutly automatically removes the background and returns clean transparent PNG images.

    Processing…
  4. You save the returned images

    Your backend saves the transparent PNG images to your database or storage.

  5. Images appear in your product gallery

    The transparent images are now ready to use in your store.

    Store gallery
Architecture overview

End-to-end flow in your stack

The browser talks only to your app. Your server holds the API key, calls Cutly, polls for completion, and persists the transparent assets your storefront displays.

  1. Product Form

    User uploads images in your web app.

  2. Your Backend

    Sends images to Cutly API.

  3. Cutly APIProcessing…

    Removes background automatically.

  4. Transparent PNG

    Returns clean PNG images.

  5. Product GalleryStore gallery

    Images are saved and shown in your store.

08. Automation & Go Live

Automate the workflow and go live with confidence.

Scale from one-off tests to production catalog updates. Run jobs from your backend, process batches of product URLs, and ship transparent images to your store when QA passes.

Original photo
Transparent background
Complete automation flow

From upload to published product

  1. Upload product image

    Send a product image from your system.

  2. Backend calls Cutly APIPOST/api/v1/background-removalBearer b9_…

    Your server sends the image to the Cutly API.

  3. Background removedProcessing…

    Cutly processes the image and removes the background.

  4. Receive clean image URLresult_url

    Poll until completed, then read result_url for the PNG.

  5. Save to product galleryStore gallery

    Store the cutout in your database or object storage.

  6. Product publishedStore gallery

    The product goes live on your store with a clean image.

Batch processing, notifications, and security

Batch processing

For catalog imports, loop over product image URLs and call import-url for each item. Poll job status until every image is done.

const imageUrls = [  "https://cdn.example.com/catalog/handbag-1.jpg",  "https://cdn.example.com/catalog/handbag-2.jpg",]; async function processUrl(url) {  let job = await fetch("https://api.cutly.io/api/v1/background-removal/import-url", {    method: "POST",    headers: {      Authorization: "Bearer b9_your_key",      "Content-Type": "application/json",    },    body: JSON.stringify({      url,      output_format: "png",      background: "transparent",    }),  }).then((r) => r.json());   while (["queued", "processing", "refining"].includes(job.status)) {    await new Promise((r) => setTimeout(r, 1000));    job = await fetch(      `https://api.cutly.io/api/v1/background-removal/${job.id}`    ).then((r) => r.json());  }   if (job.status === "completed") {    await saveToGallery(job.id, job.result_url);  }} // Limit concurrency in production (e.g. 3–5 at a time)for (const url of imageUrls) {  await processUrl(url);}

Notify your app when a job finishes

Cutly returns job status over HTTP polling. After your worker sees completed or failed, emit an event to your storefront or queue:

Sample event payload

{
  "event": "cutly.job.completed",
  "id": "9f3a2b1c4d5e6f708192a3b4c5d6e7f",
  "status": "completed",
  "result_url": "https://api.cutly.io/api/v1/background-removal/9f3a…/result?expires=…",
  "original_url": "https://api.cutly.io/api/v1/background-removal/9f3a…/original?expires=…"
}

Security & best practices

  • Keep your API key on the server — never in the frontend.
  • Keep original images for backup and rollback.
  • Retry failed jobs with exponential backoff.
  • Test with sample products before going live.
  • Monitor API usage with GET /api/v1/usage and set up alerts.
  • Go live only after manual QA on real catalog images.

Ready to integrate?

Get your API key and start automating product image workflows today.